Product photography is expensive. A shoot with a photographer, location, and model easily costs a full day rate. So we tested: can you place a real physical product into AI-generated lifestyle scenes that are good enough for social media and concept presentations?
The short answer: yes — with caveats you need to understand.
The long answer follows. After 50+ generated images, 4 testing rounds, and an automated 3-agent pipeline, we have a clear picture of what works and what doesn't.
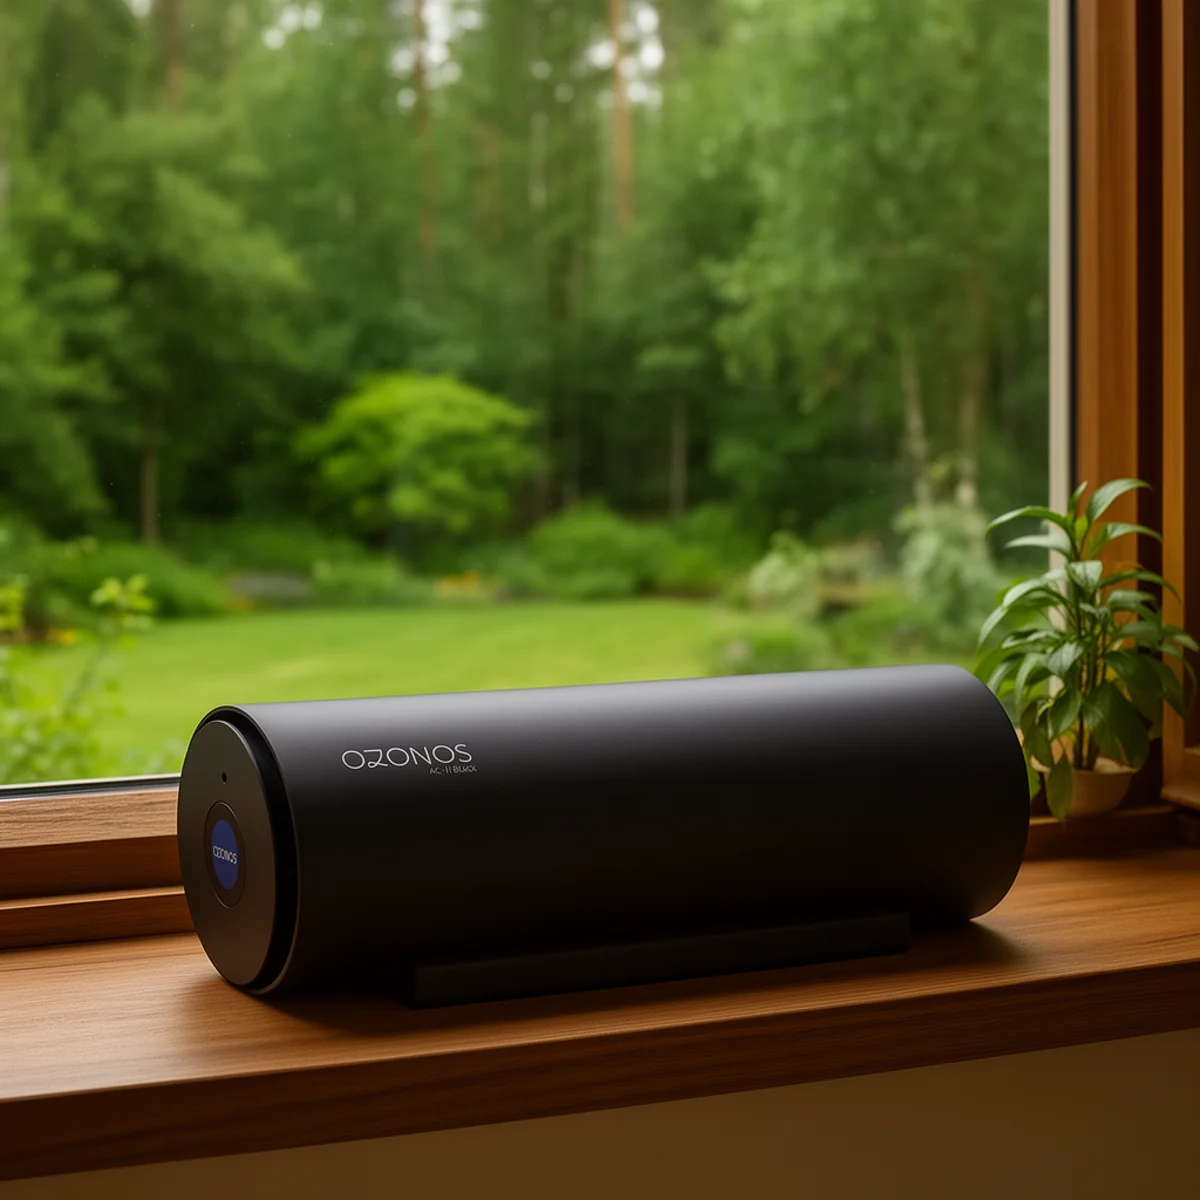
 AI-generated product photo — device in foreground on sideboard, yoga scene in background
Foreground placement with 3 reference images: product, proportions, and scene all land correctly
AI-generated product photo — device in foreground on sideboard, yoga scene in background
Foreground placement with 3 reference images: product, proportions, and scene all land correctly
The Setup
- Model: Flux 2 Dev (FP8 mixed precision) with Mistral 3 Small multimodal text encoder
- Method: Reference latent conditioning via FluxKontextMultiReferenceLatentMethod
- Hardware: RTX 5090 with 32 GB VRAM, ComfyUI with
--lowvram - Goal: Place a real product naturally into lifestyle scenes
The Core Technique: Reference Latent Conditioning
The key difference from regular text-to-image: we don't just describe the product in the prompt — we feed actual product photos through the VAE encoder and chain them as latent conditioning. The model then "knows" what the product actually looks like.
LoadImage → FluxKontextImageScale → VAEEncode → ReferenceLatent (chained)
→ FluxKontextMultiReferenceLatentMethod → KSampler
This sounds technical, but the effect is significant: instead of a generic "white tube," the model renders the actual product with correct proportions and details.
The Two-Block Prompt Structure
Every successful prompt has two clearly separated blocks:
Block 1 — Product description: Exact dimensions with human-scale comparisons ("40cm long, about the size of a large thermos"), material/color, distinctive features described subtly, orientation constraints, anti-duplicate rules ("Only ONE device"), and anti-artifact rules ("No dust, no haze").
Block 2 — Scene description: Environment, lighting, person/action, a single specific surface for placement, camera settings (lens, aperture, DOF), and a style anchor ("Photorealistic, editorial lifestyle photography").
This structure is non-negotiable. Mixing both blocks produces inconsistent results.
What Works Reliably: Product in Foreground
Foreground placement with 3-4 reference images is the sweet spot. The model renders the product prominently with accurate shape, proportions, and details. People can be in the background or to the side.
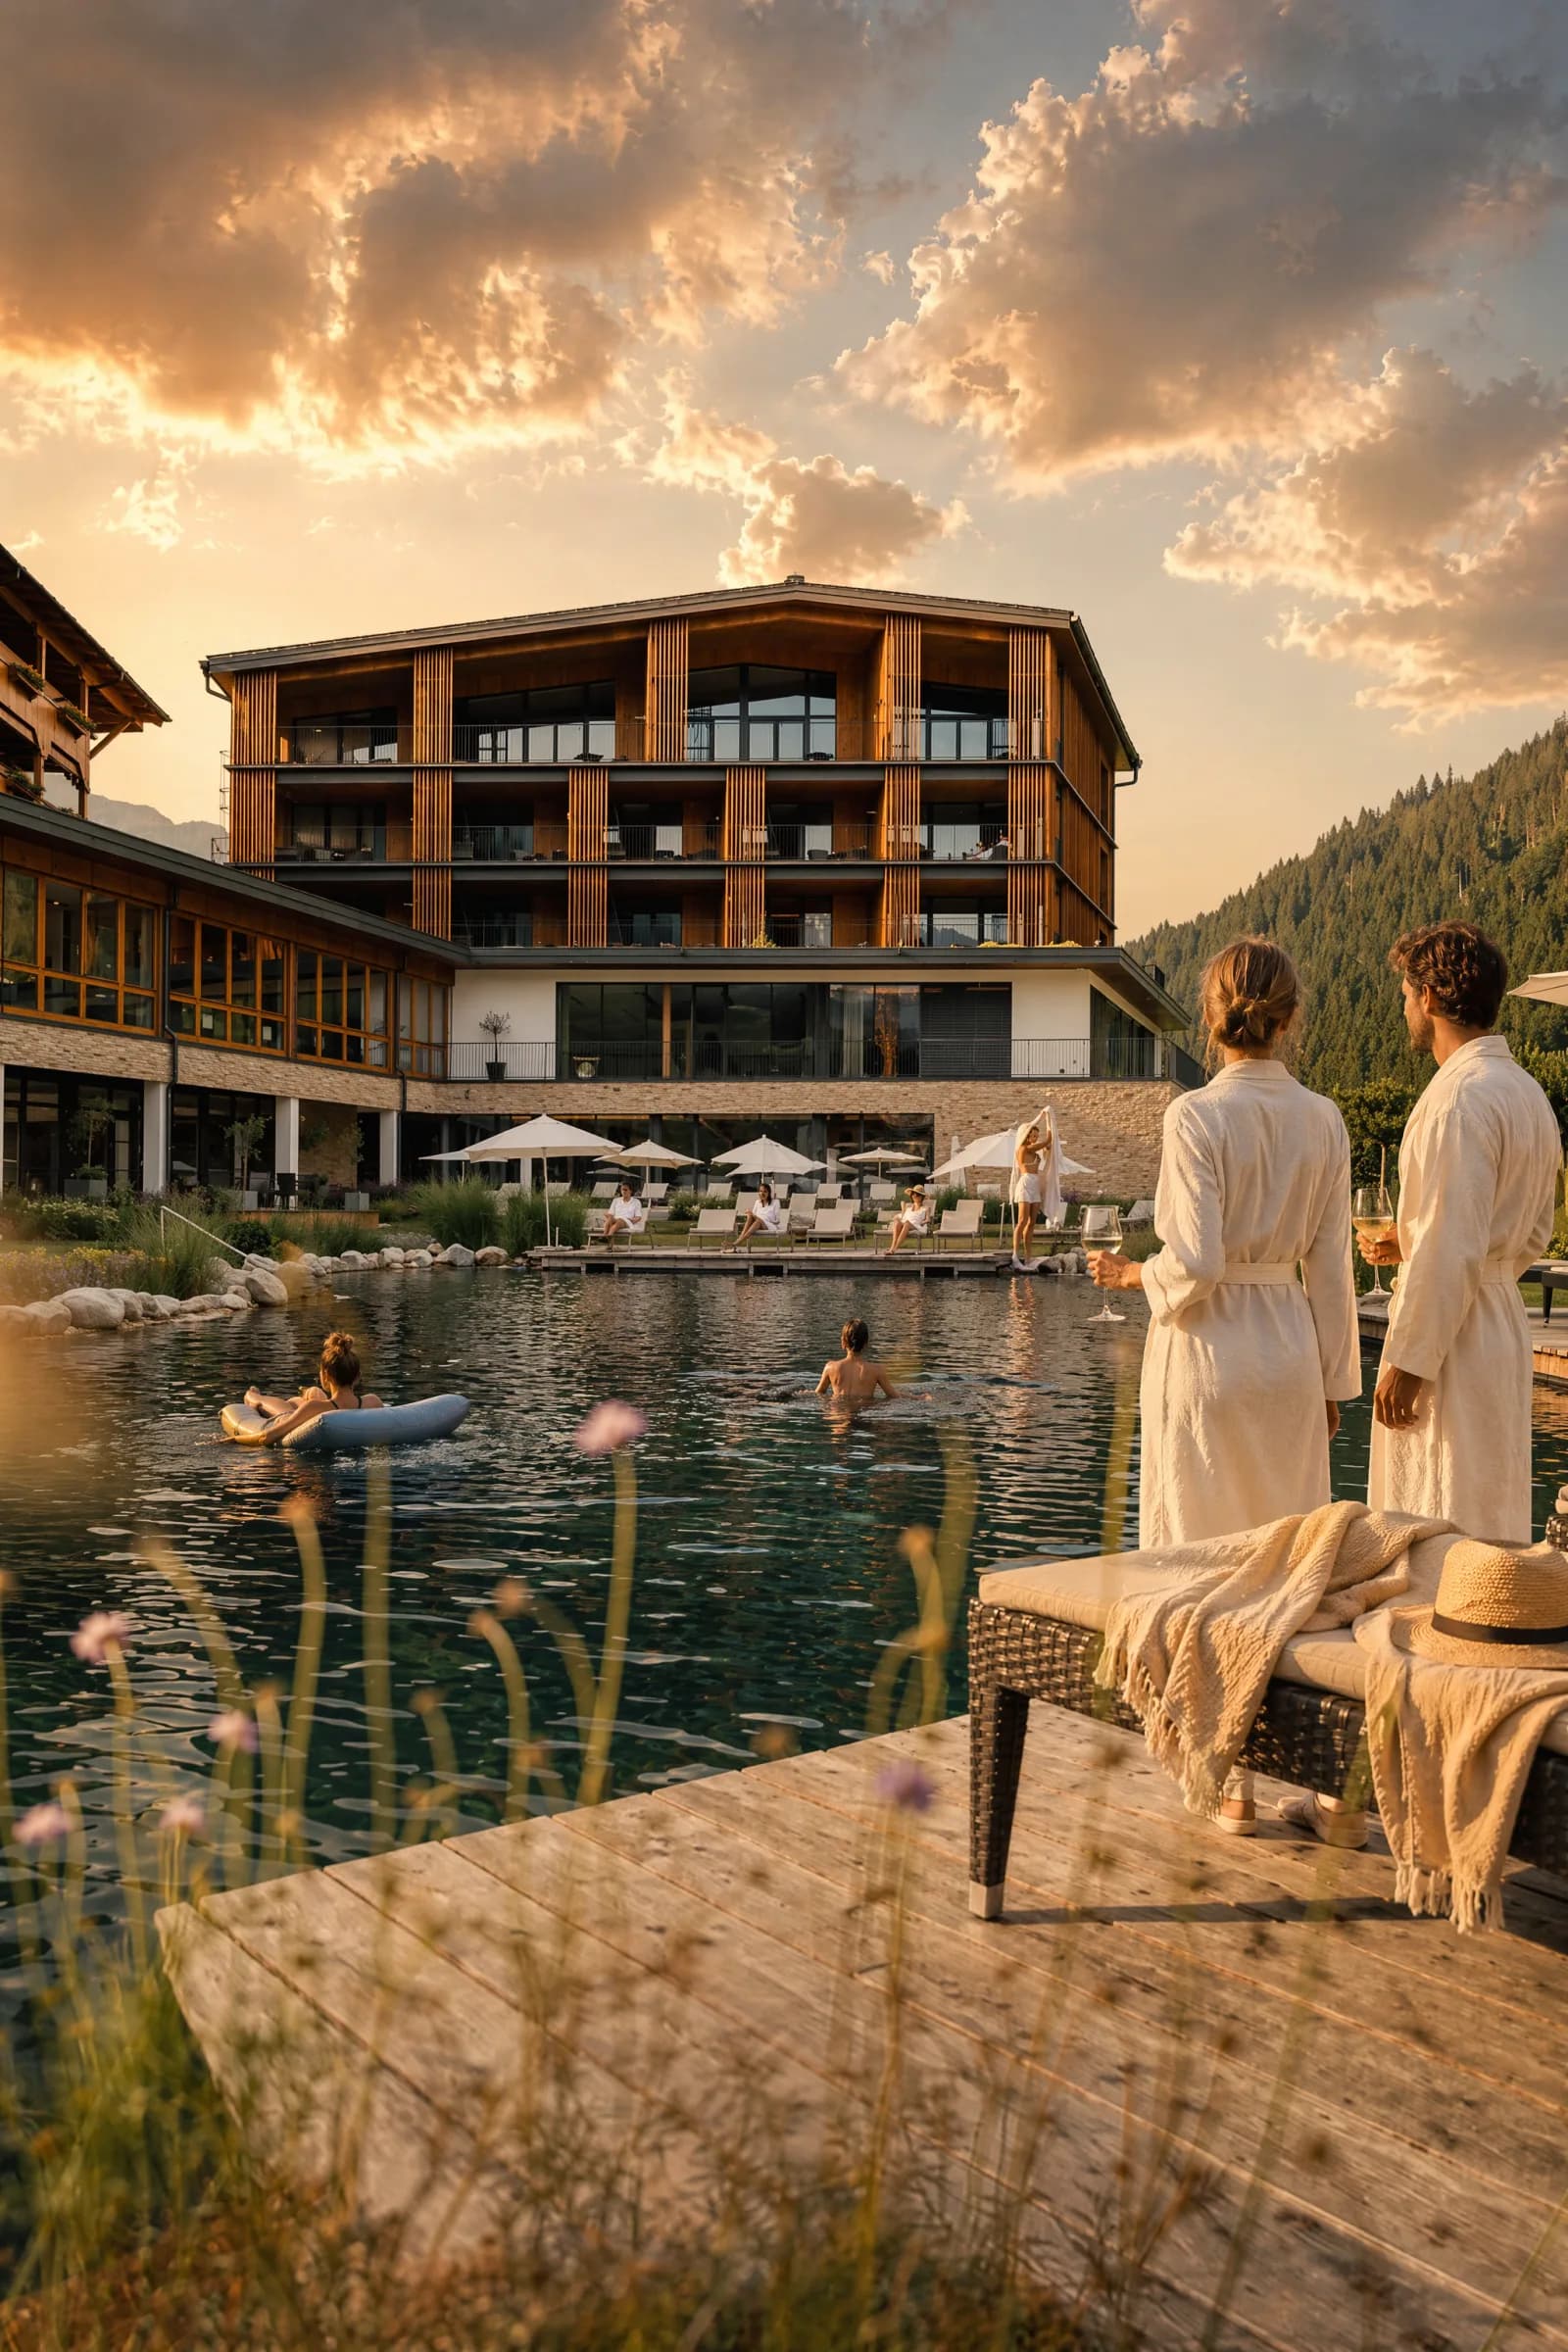
 AI-generated lifestyle product photo — device on side table, warm evening mood with couple on sofa
Another foreground hit: warm light, natural placement, people in background
AI-generated lifestyle product photo — device on side table, warm evening mood with couple on sofa
Another foreground hit: warm light, natural placement, people in background
Optimal foreground settings:
| Parameter | Value |
|---|---|
| Reference images | 3-4 from different angles |
| Lens in prompt | 50mm (most natural proportions) |
| Placement | "Prominently visible in the foreground" |
| Surface | Name ONE specific surface ("sits ON the nightstand") |
| Steps | 16-20 (sweet spot) |
| Sampler | euler, simple scheduler |
| CFG | 1.0 |
| Aperture in prompt | f/1.4 – f/1.8 |
Success rate: roughly 80% usable results. That's extremely good for generative AI.
The Hard Problem: Product in Background
This is where it gets interesting — and frustrating. The product should appear naturally in the background while a person is the main subject. But the entire reference latent conditioning method is designed to reproduce the referenced object. It wants to show the product prominently.
We tested 4 approaches across 36+ images:
| Approach | Method | Result |
|---|---|---|
| A: Standard + "FAR behind" | Product block first, 2 refs, strong distance language | Product still lands in foreground |
| B: Scene-first | Full scene description first, product mentioned casually at end | Best result. Product appears in background ~40% of the time |
| C: Aggressive minimizing | "MAIN SUBJECT" / "BACKGROUND", "5% of frame" | Too aggressive — product either vanishes or becomes unrecognizable blob |
| D: Casual mention | No product block at all, product as "just another kitchen item" | Mixed — sometimes perfect, sometimes wrong size |
Winner: Scene-first (approach B) with just 1 reference image.
The logic: fewer reference images = less "show this object" pressure. And when the scene is described first, the model prioritizes context.
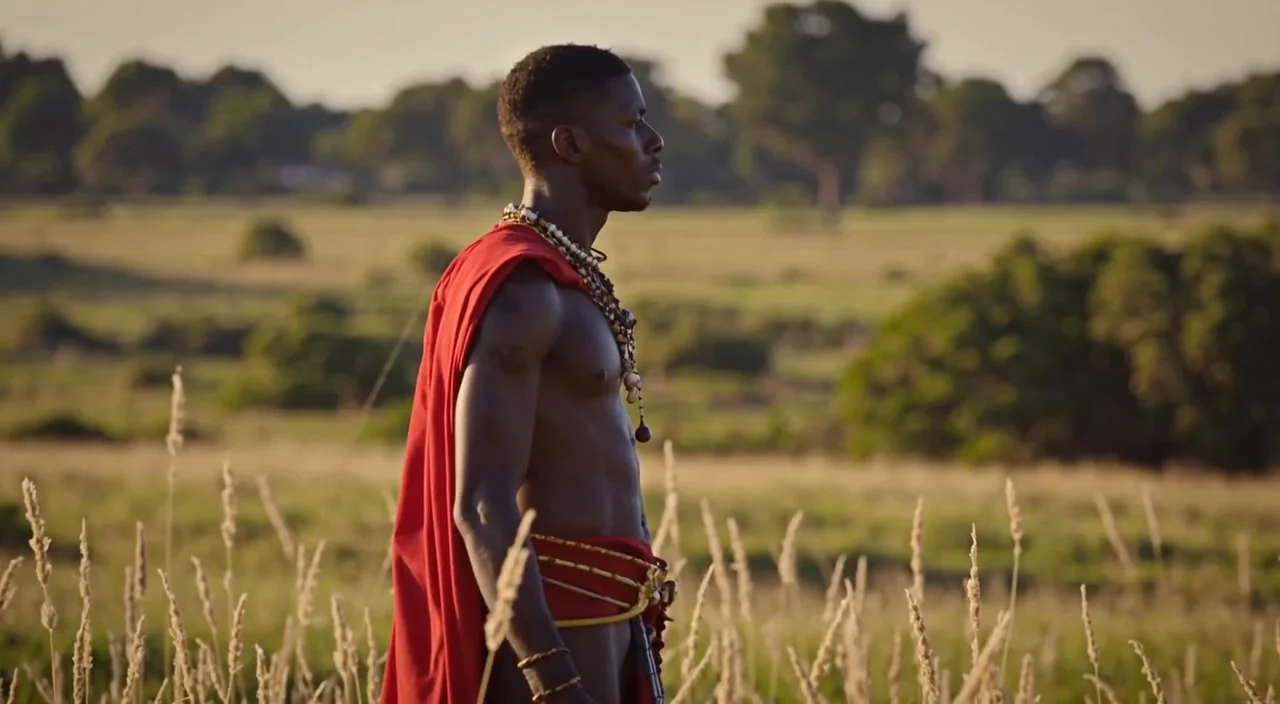
 AI-generated product photo — device subtly in background on shelf, mother and child playing in foreground
Background placement with scene-first prompt and 1 reference image — the device blends in naturally
AI-generated product photo — device subtly in background on shelf, mother and child playing in foreground
Background placement with scene-first prompt and 1 reference image — the device blends in naturally
 AI-generated product photo — device rendered standing upright in kitchen instead of lying horizontal
The orientation problem: the cylindrical device gets rendered standing instead of lying flat
AI-generated product photo — device rendered standing upright in kitchen instead of lying horizontal
The orientation problem: the cylindrical device gets rendered standing instead of lying flat
Hard Rules We Learned the Hard Way
After dozens of failed generations, clear no-go's emerge:
- Never mention mirrors — guaranteed product duplicate (reflection = second product)
- Never name two surfaces — "on the shelf or the counter" = product on both
- Never say "LED ring" or "glowing" — model overemphasizes luminous features. Use "small subtle blue accent" instead
- Never use 35mm lens — barrel distortion warps product proportions
- Never go below 16 steps — faces become soft, haze appears everywhere
- Never use inpainting to add the product — ghosting and morphing at every denoise level
- Fewer refs for background (1), more for foreground (3-4)
The Orientation Problem
Even when the product is a horizontal cylinder that sits flat in a cradle, the model frequently renders it standing upright — like a speaker or thermos. Reference image choice is crucial:
- A 3/4 angle photo (where the cylinder appears somewhat vertical in perspective) → model biases toward upright placement
- A clearly horizontal photo (side view, lying flat) → helps but doesn't guarantee horizontal output
- Explicit language like "LYING FLAT ON ITS SIDE, NOT standing upright, like a rolling pin" → helps but isn't foolproof
The Size Calibration Problem
For background placement, the product is either too big or too small:
- "tiny" / "very small" / "5% of frame" → product disappears
- "large" / prominent language → product dominates the scene
- Real-world size anchors work best: "about the size of a large water bottle" gives the model a concrete reference
- Never use percentage-based size language — it's unpredictable
Text on Products: Forget It
Flux 2 Dev can't render readable text on products. Logos become random letter-like shapes. This is a model limitation, not fixable through prompting.
For your workflow, this means: AI product photos are perfect for mood boards, social media concepts, and internal presentations. For final print assets with visible logos, you still need real photos or compositing.
The Automated Pipeline
We built a 3-agent system that scales the process:
- Creative Director: Generates shot briefs from brand research, adjusts based on feedback
- Producer: Builds ComfyUI workflows, manages reference images, generates images
- Photo Judge: Uses Claude's vision capabilities to score product accuracy, proportions, scene quality, and placement naturalness
Pass threshold: all scores ≥ 6 out of 10, average ≥ 6.5. The judge ignores text garbling (known limitation).
The result: instead of manually scrolling through hundreds of images, the pipeline automatically filters and delivers only the usable results.
Optimal Settings Cheat Sheet
| Parameter | Value |
|---|---|
| Steps | 16 (fast iteration) or 20 (final quality) |
| Sampler | euler, simple scheduler |
| CFG | 1.0 |
| Denoise | 1.0 |
| Resolution | 768×1344 (9:16) or 832×1024 (4:5) |
| Refs (foreground) | 3-4 images |
| Refs (background) | 1 image |
| Lens in prompt | 50mm (natural) or 85mm (compressed bg) |
| Aperture in prompt | f/1.4 – f/1.8 |
Verdict: Usable, But Not a Replacement
AI product photography with Flux 2 Dev isn't a replacement for professional shoots — but it's a powerful tool for quick concepts, social media content, and internal presentations.
Foreground placement is production-ready now. Background placement needs 2-3x more generations but delivers usable results with the right technique.
The biggest advantage: everything runs locally, zero API costs, full control over the workflow. And with the automated pipeline, what used to be a manual trial-and-error process becomes a scalable system.
Want to test AI-generated product photos for your business? I help with setup — from hardware to ComfyUI to automated pipelines. Let's talk →